Snowball Bath Bombs (with secret snowflake soaps inside!)
These fun wintertime snowball bath bombs have a special snowflake soap surprise tucked in the middle of each one!
The snowflake soaps can be made with either melt and pour soap, or by using the cold process soap method.
I made these using round bath bomb molds, so they would resemble sparkly snowballs, but if you don’t have round molds, you could use a 1/2 cup measuring cup as a mold instead, for an even easier-to-make bath bomb.

You’ll make this project in two parts: first the soap (either melt & pour, or cold process), and then the bath bomb.
The fizz factor in these bath treats comes from the combination of baking soda (sodium bicarbonate) and citric acid, which is held together by shea or mango butter (or coconut oil could work too), and witch hazel.
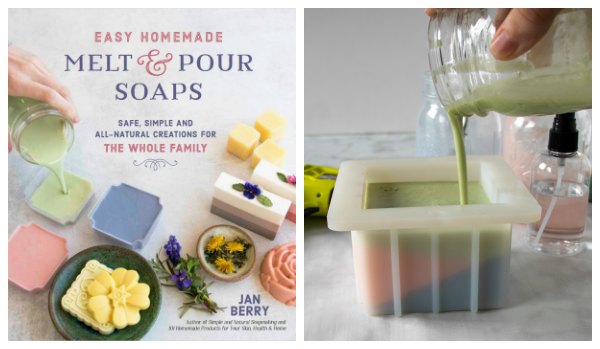
If you have a copy of my print book, Easy Homemade Melt & Pour Soaps, then you’ll recognize this technique since it’s used in the projects for Herbal Soap Embeds and Herbal Surprise Bath Bombs on pages 44 – 47.
You could also make this bath bomb recipe without the hidden soap inside, for a plain snowball bath bomb. If you do add the hidden soap, be aware that you’ll want to use these bath bombs up within two to four weeks, since the moisture from the soap will make them start expanding from the inside over time.
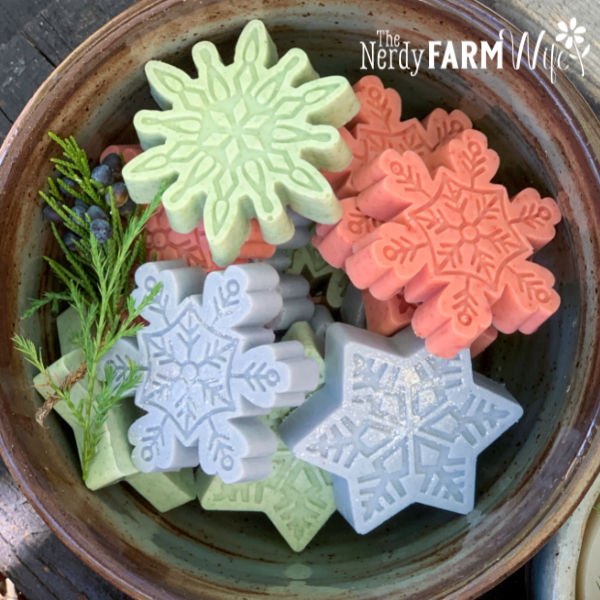
To Make the Snowflake Soaps
The snowflake soaps can be made with melt and pour base OR as cold process soap.
I use Wilton Silicone Snowflake molds for both versions, which are also perfect for making winter-themed lotion bars, wax melts, and more! (Since they’re small, I ended up buying 3 of this exact mold for winter projects!)
Some links on this site are affiliate links. If you follow a link and make a purchase, I may earn a small commission for sending a customer their way.
Melt and pour version:
This makes about 7 to 8 mini snowflake soaps.
- 4 oz (113 g) white soap base, chopped into cubes
- for blue: 1/8 tsp indigo powder mixed with 1/2 tsp rubbing alcohol
- for green: 1/8 tsp chlorella or spirulina powder mixed with 1/2 tsp rubbing alcohol
- for pink: 1/4 tsp madder root powder mixed with 1/2 tsp rubbing alcohol
- 0.5 g (ab 1/8 tsp) peppermint essential oil
- rubbing alcohol, for spritzing away air bubbles
- ecofriendly glitter (optional – I used Super Sparkles Enviroglitter)
Melt the soap base in a double boiler over medium low heat until melted, or in the microwave, heating for 10 to 20 seconds at a time until melted. Stir in the colorant of your choice (indigo for blue, chlorella for green, or madder root for pinkish-red) and peppermint essential oil.
Pour the soaps into mini snowflake-shaped silicone molds and spritz the top with rubbing alcohol to eliminate air bubbles. Let cool and harden, about 1 to 2 hours, before removing from molds. If desired, use a soft paintbrush to dust on ecofriendly glitter, then wrap tightly with plastic wrap or place them in an air tight container until ready to use.
Cold process soap version:
Use the small test batch recipe, as shared in this article: How to Make Test Batches of Soap and add one of the natural colorant amounts as shown below. For natural scent, add peppermint essential oil at trace: from 4.5 grams to 7 grams (2 to 3% usage rates).
- for blue: 1/2 tsp indigo, added to hot lye solution
- for green: 1/2 tsp chlorella or spirulina, added to warmed oil before combining with the lye solution
- for pink: 1 tsp madder root powder, added to warmed oils before combining with the lye solution
The cold process soaps need to cure in the open air for at least 4 weeks before using.
Ingredients for the Bath Bombs
If possible, it helps to have at least three of the same size bath bomb molds, so the freshly shaped bath bombs are able to stay in the mold bottom for a short while, making them less likely to crumble.
I’ve purchased and used Metal Bath Bomb Molds and Stainless Steel Bath Bomb Molds from Amazon with excellent results. (Be aware that the stainless steel molds are somewhat sturdier and won’t dent as easily as aluminum ones.)
Yields: 4 to 5 bath bombs
- 1 3/4 cup (500 g) baking soda
- 1 cup (236 g) citric acid
- 1 oz (28 g) shea or mango butter, melted
- 10 drops peppermint essential oil
- witch hazel in a small spray bottle
- round bath bomb molds (it helps to have at least 3 of the same size mold to work with at once)
- mini soaps to go inside the bath bombs (optional)
- ecofriendly glitter (I used Super Sparkles EnviroGlitter from Nurture Soap)
Instructions to Make the Bath Bombs
Making the Bath Bomb Mixture
In a medium-sized mixing bowl, combine the baking soda and citric acid together. Stir and work out any clumps with the mixing spoon, whisk, or your fingers, as needed.
Combine the melted shea butter with the essential oil and slowly drizzle the mixture into the combined dry ingredients, while stirring. Break up any remaining clumps with your hands to make sure the butter is completely incorporated.
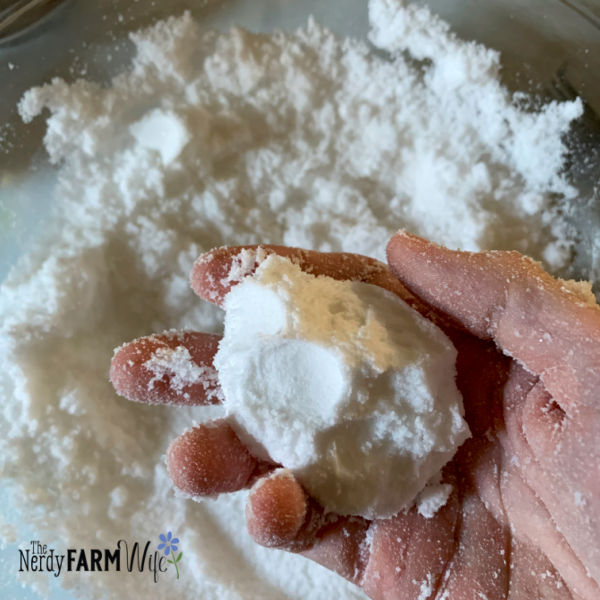
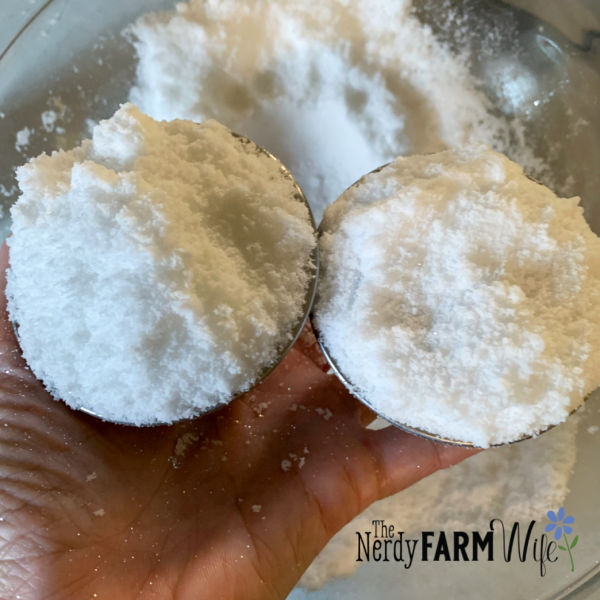
Try squeezing a handful of the mixture. If it holds together nicely, then it’s ready. If it’s dry and crumbly, spray 1 to 2 spritzes of witch hazel into the mixture while stirring, then check again. If needed, add another spritz or two of witch hazel, but be very careful not to make the mixture too moist. It should look on the dry side, but still squeeze together into a ball without crumbling when it’s ready.
Filling & Shaping the Bath Bombs
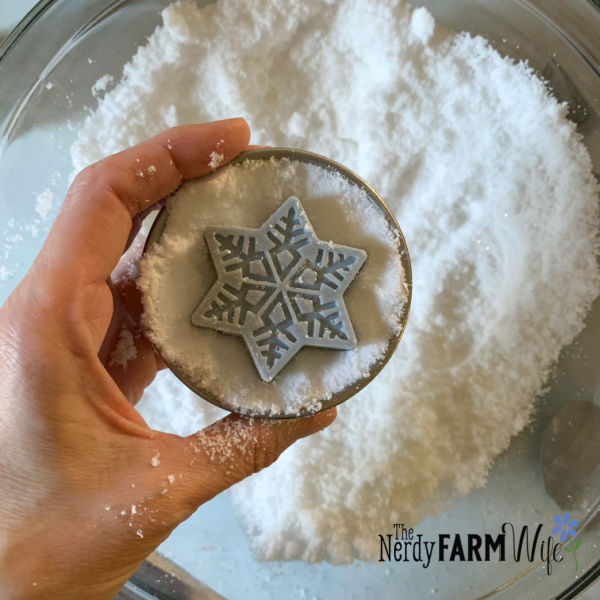
Sprinkle a few pinches of eco-friendly glitter all around the inside of both halves of the bath bomb mold, then almost fill one half of the bath bomb mold with the mixture, pressing it lightly as you pack it in. Place a mini snowflake soap, if using, on top of the mixture in the mold, press it in gently, then cover lightly with additional mixture to overfill the mold.
Fill the other half of the bath bomb mold with the mixture, overfilling it past the top.
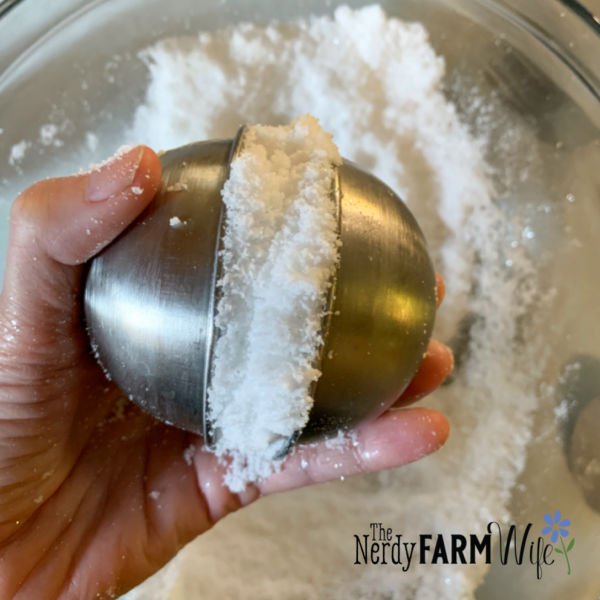
Press the two halves together, cleaning out any extra bits that squeeze out from the edges with your fingers. Try not to overly twist the mold when you do this, or it could break the bond between the two halves.

Unmolding
Carefully try pulling the top half of the mold off. You may need to tap the mold with a knife or against the table or counter to help it loosen. Sprinkle with a tiny pinch of additional glitter, if you feel like the bath bomb needs it.

Keep the bath bomb in the bottom half of the mold for about 10 minutes. Place the top of the mold back on the bath bomb, flip it upside down, and remove the other half of the mold, allowing that side to air dry for an additional 10 to 20 minutes.
After removing the bath bomb from the mold half, place it on a towel, covered with a sheet of wax paper.
Drying & Packaging
Allow to air dry for several hours before packaging if you live in a fairly dry area or have dry indoor air. If you live in an area with high humidity, package the bath bombs as soon as they’re firm enough to be handled so they don’t absorb moisture from the air and expand. Some climates may have the best luck by placing the finished bath bombs in the refrigerator for a short while to solidify before packaging.
For packaging tips, check out my article:
For best results, use these bath bombs within 1 month.

