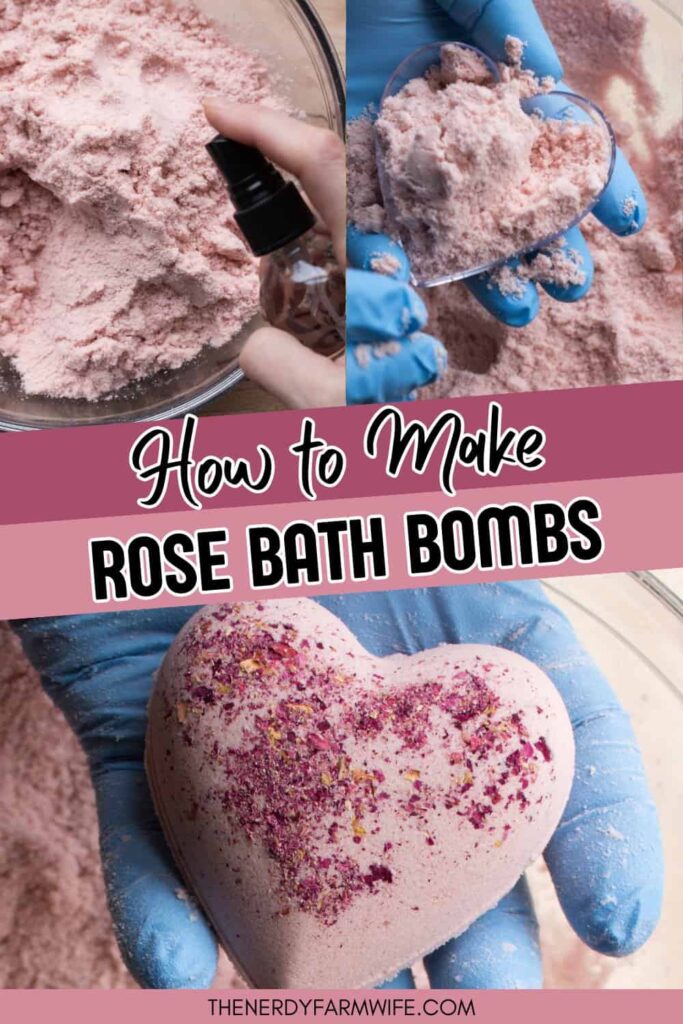
Natural Rose Bath Bombs
These pretty heart-shaped bath bombs are naturally colored with rose clay and scented with a relaxing blend of essential oils.
You can also optionally include milk powder for extra skin-nourishing benefits, or leave it out if you’d like.
To use, run a comfortably warm bath then drop a bath bomb into the water.
Watch it fizz and enjoy a luxurious skin-softening bath!
For loads of bath bomb recipes, tips, tricks, info on natural colorants and more, check out my Natural Bath Care eBook Collection:
Natural Rose Milk Bath Bombs Recipe
Yields: 4 large heart shaped bath bombs
- 2 cups (19 oz/539 g) baking soda
- 1 cup (8 oz/227 g) citric acid
- 1 tsp rose clay
- 1 tablespoon (7 g) milk powder (cow, goat or coconut)
- 1 oz (abt 1/4 cup or 13 wafers) cocoa butter (or another type of butter)
- dried rose petals, optional
- 5 drops each geranium, clary sage & lavender essential oils, optional for light scent
- heart shaped bath bomb mold (I used THESE, but they’re out of stock now, so try THESE instead for a similar heart shaped look)
- witch hazel in a small spray bottle
How to Make the Bath Bombs
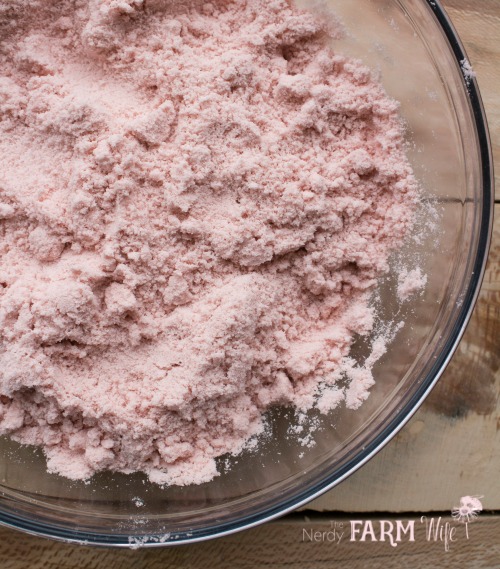
Stir the baking soda, citric acid, rose clay, and milk powder together, making sure to work out any clumps with your fingers, as needed.
Melt the cocoa butter and stir into the dry mixture, along with essential oils, if using.
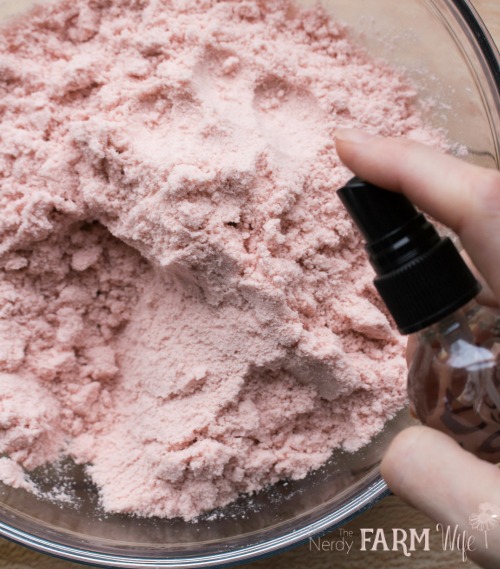
Your mixture should look something like this:
If incorporating rose petals (optional):
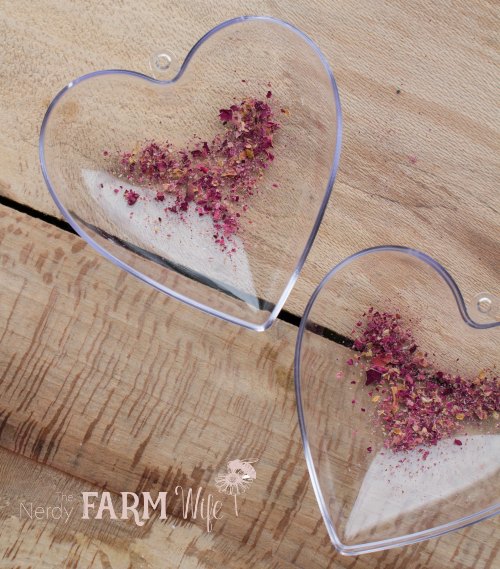
Grind the rose petals in a coffee grinder to a powder and sprinkle a small amount in the mold.
Spritz the bath bomb mixture with witch hazel and mix well with your hands.
A common cause of bath bomb failure is using too much liquid at this stage. Humid weather can also cause issues.
Our house is currently very dry (from our wood stove) and I used 10 spritzes of witch hazel.
During humid summer weather, I may only need 6 or 8 spritzes for this recipe. Start out with just a few spritzes and add more, if needed, as you go.
When the mixture is just right, try making a test ball with your hands and see how it holds. If it doesn’t want to stick together, add a tiny bit more witch hazel.

Pack the mixture into half of the mold, pressing lightly as you go, until it’s somewhat overfull.
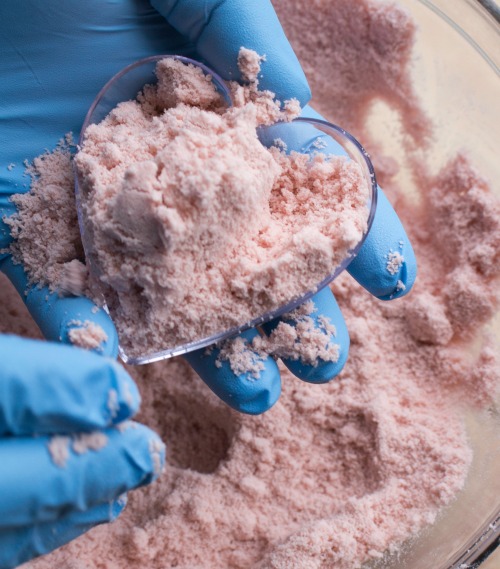
Next, fill the other half of the mold, until packed lightly and slightly overfilled.
Press the two halves together, cleaning out any extra bits that squeeze out from the edges with your fingers. Try not to twist the mold as you do this, as that can break the bond between the two halves.
If the two sides don’t want to stick together, try scooping the mixture back out of the mold and add one to two more spritzes of witch hazel before trying again.

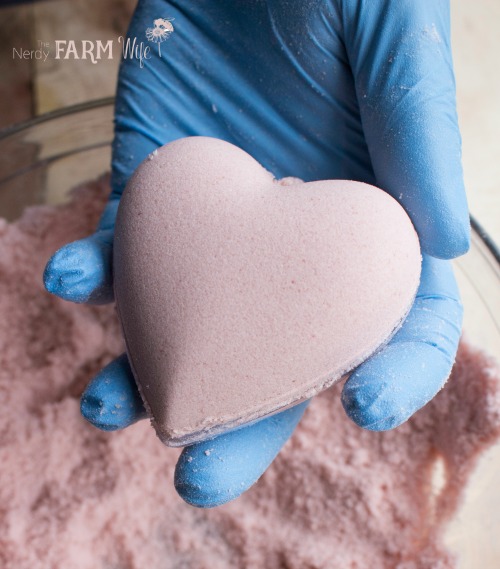
Remove one side of the mold and make sure it holds together. It will be less fragile to handle once it’s completely dried.
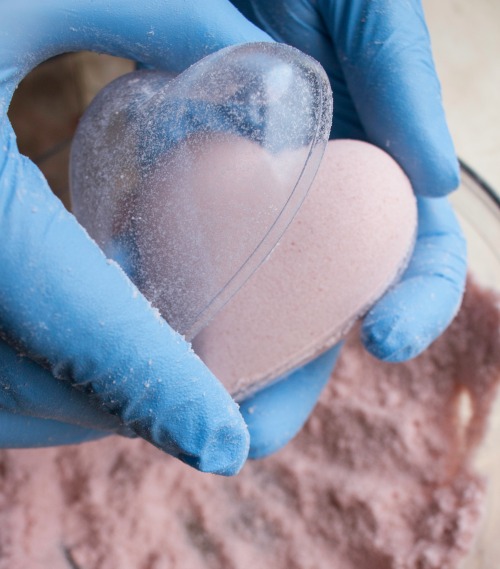
Your bath bomb will look something like this, if it doesn’t have rose petals:
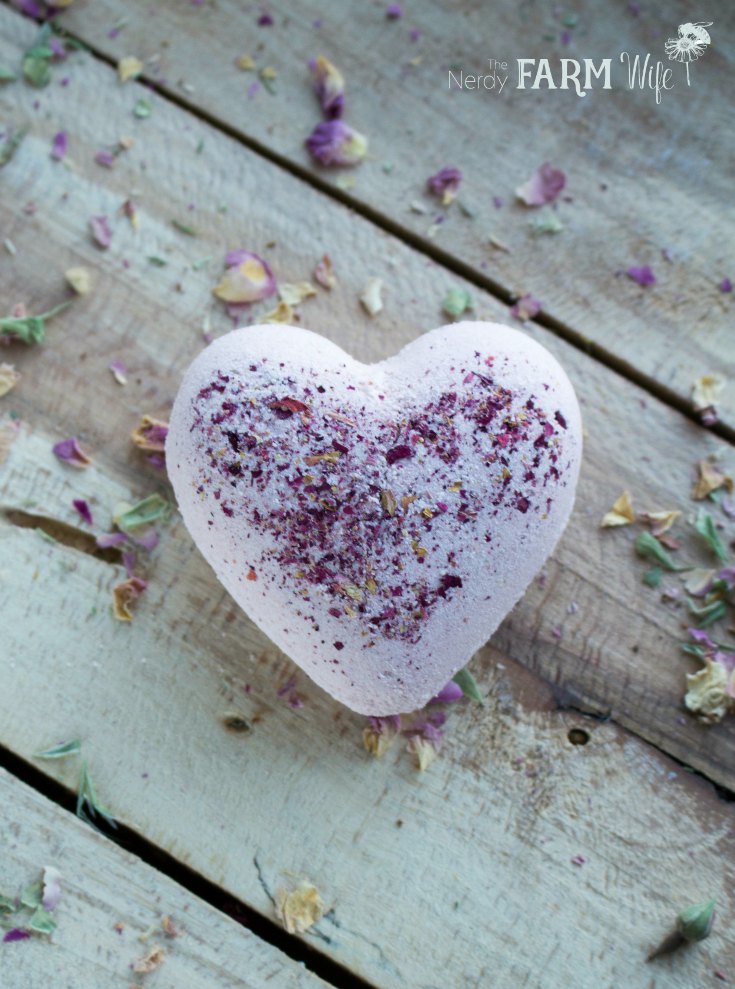
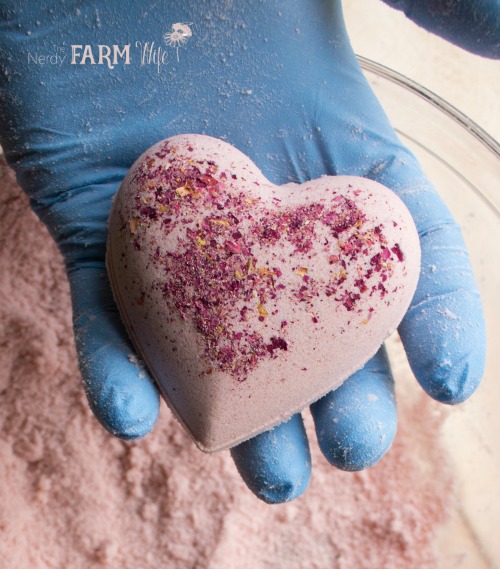
Or, like this, if you did add ground rose petals:
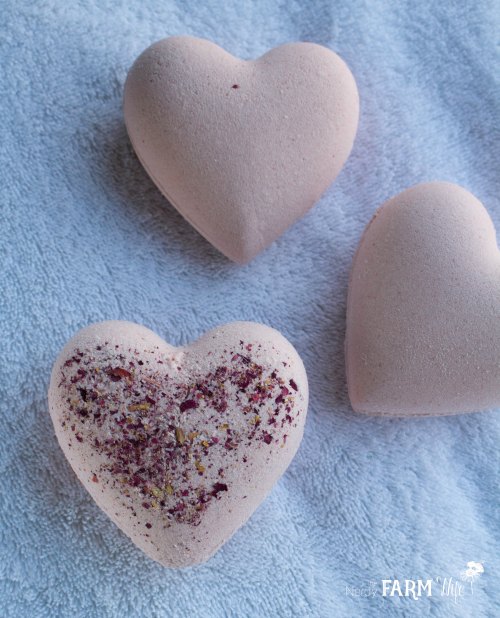
Place the bath bombs on a towel to dry and completely harden for 24 hours. Some crafters have success placing their bath bombs in the refrigerator for several hours, to help them harden up.
Packaging & Printable Labels
Please see my article:
How to Package Bath Bombs for Gift Giving {+ label tutorial}
for packaging ideas!
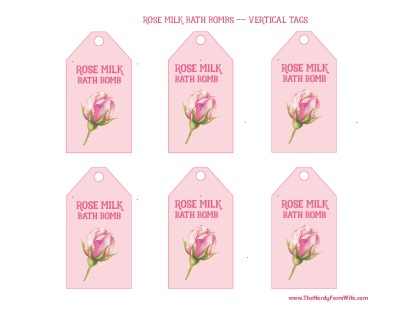
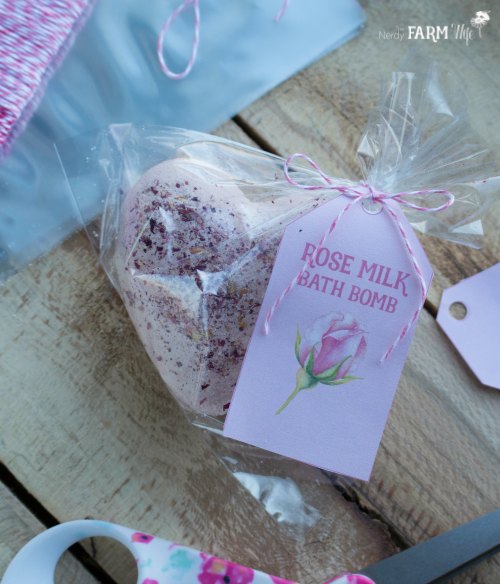
I packaged my bath bombs in small bags, tied them closed with baker’s twine from my local craft store and added printable labels which you can find below:
Printable Tags – Vertical Design with Rosebud (<- click name or thumbnail below to open pdf file)
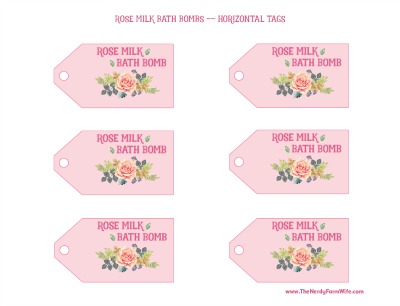
Printable Tags – Horizontal Design with Watercolor Roses (<- click name or thumbnail below to open pdf file)


We have that book in our local library and I have used it several times. It’s on my ‘need to buy’ list.
Happy you like the book! :)
I really love this idea and I am going to try this. Will make really nice Mothers Day gifts. Pinning and thanks for sharing
Hi Tammy! I’m glad you like the idea! Thank you for pinning! :)
I bought the 101 easy handmade products books (both ebook and then hard copy which I found in a bookshop all the way in Perth Western Australia – it’s not the same for me just printing off the ebook lol). Amongst other things, I have made the Rose Face Cream and it is awesome. Can’t believe the pink colour is holding just from my red rose petals- thought it might go brown. Giving the second jar to my 85 yo mum and planning to make more for my mature age friends. Thanks so much for all your hard work and sharing.
Hi Christina! Thank you for buying the book – twice! :) I’m so glad that you like the rose face cream recipe; it’s one of my mom’s favorites too!
Jan, thank you! This is so pretty and I am sure it is a luxurious bath treat. You have the BEST ideas!
Thank you! They are super luxurious; a new favorite of family & friends! So glad that you like the idea! :)
These look lovely!
Very similar to my Midnight Rose Bath Bombs.
(Wish I can upload a picture for you)
Your tags are also lovely!
Keep up the good work!
Hi Theresa! I hopped over to your site & your Midnight Rose Bath Bombs are gorgeous! <3
Thank you Jan!
Means a lot coming from you!
It’s jusr a starting point I started since friends and family have urged me for a while to have one. I just cant seem to find the time to post everything that I have created over the years. I spend more time doing research and reading worthwhile blogs (to which yours is definitely high on that list!) then I do anything else. I love your blog and hopefully I will get over my fears and start one soon!
Thank you again!
Theresa
You’ve done a great job on your site! I hope that you’re able to start your blog soon – it does take time & Work, but is so fun and rewarding too! :)
oh wow these look great. thanks for sharing!
Hi Hena! Thanks for the comment, I’m happy that you like the recipe! :)
Beautiful Can’t wait to try this one. thanks for sharing.
Hi Emma! I’m happy you like the recipe! :)
Could silicone molds be used instead of these?
Hi Jennifer! You can use some silicone molds for bath bombs, but it depends on the mold. Some are little too bendy so the bath bombs are prone to breaking when you unmold. You could always test a mold out by making one bath bomb in it and if it breaks, have a sturdier mold on standby to quickly scoop it into. :)
I followed the recipe, and the next morning my bath bombs were cracked. Any idea how to prevent this going forward?
Hi Anna! Cracks are sometimes a moisture level problem. If your work area is too dry and warm, then sometimes the bath bomb will crack as it dries out. On the other hand, if the mixture was too wet when molding, it could cause cracks as it expands. If it was from too much moisture, you might also see little wart-like bumps all over. Did the bath bomb also flatten out on the bottom, or did it stay round? Also, larger bath bombs are more prone to cracking from their weight, where small and medium ones are sturdier. Bath bombs can be quite finicky sometimes!