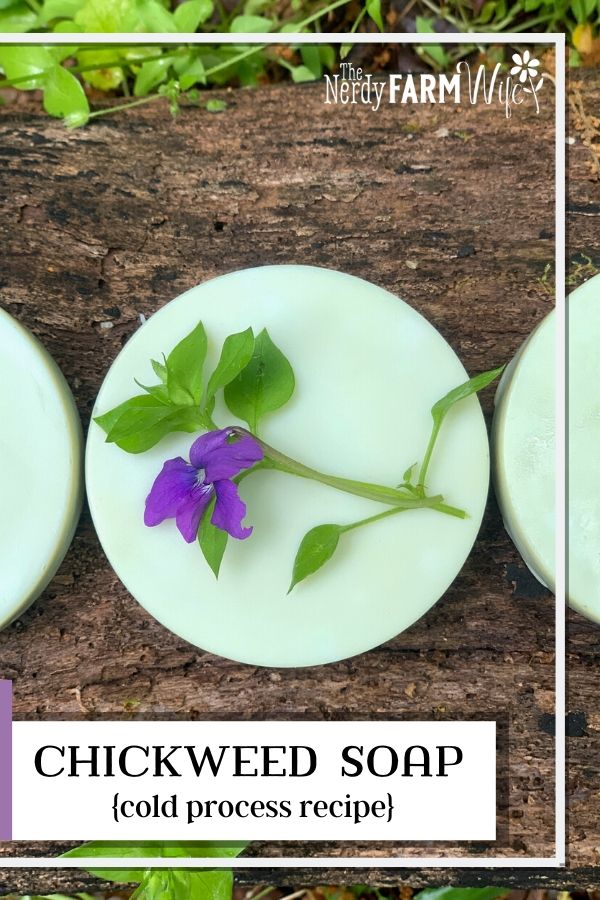
Creamy Chickweed Soap (cold process)
This extra gentle herbal soap features skin soothing chickweed and shea butter. It’s coconut-oil free which makes it perfect for those who are allergic or extra-sensitive to coconut.
Chickweed (Stellaria media) is a nourishing spring time weed that’s used in skin care products especially for itchy skin conditions and eczema.
Since I have an abundance of chickweed growing in my gardens and around my house, I used it to make both a tea and oil infusion for my soap.
Don’t have fresh chickweed? Use half as much dried in its place, though your soap may end up a different color.
If you’re interested in making soap with chickweed, but aren’t comfortable handling lye, you may be interested in my Chickweed & Violet Leaf Melt & Pour Soap recipe instead.

How to Make Chickweed Infused Olive Oil + Chickweed Tea
Before you can make chickweed soap, you first need to make chickweed infused oil and chickweed tea.
Ingredients for Chickweed Infused Olive Oil
- 1/2 cup chopped and wilted chickweed
- 1 1/2 cups (about 10.65 ounces) olive oil
I normally infuse oil with dried herbs to help with longer shelf life when they’re stored and used in oil-only products such as salves or lotion bars, but in this case, I want the herb to be partially fresh or wilted in order to capture more of the lovely green color from the plant.
The tiny amount of water content from the wilted chickweed won’t matter in this case since it’s going directly in a batch of soap.
How to Make the Infused Oil
First, if your chickweed is fresh, it needs to be wilted for several hours to remove some of the water content.
You can either spread the chickweed out over a dish towel or paper towel to air dry overnight or for several hours, or you can put it in a food dehydrator for a couple hours.
Add the wilted chickweed into a glass jar or heatproof container and cover with the olive oil. Place the jar or container down into a saucepan with a few inches of water, forming a makeshift double boiler that indirectly heats the oil.
Place the pan over a medium low burner and infuse for at least 3 hours, or until the oil has taken on a dark green color. I heated mine for about 3 hours, then let it sit for an additional night and day at room temperature to infuse a bit more.
Strain right before you need the oil to make your batch of soap.

Ingredients for Chickweed Tea
- 1/2 cup chopped fresh chickweed
- 3/4 cup (175 ml) boiling distilled water
How to Make the Tea
Place the chopped chickweed in a heatproof canning jar or container.
Pour the boiling water over the chickweed and let it sit at room temperature for about 20 to 30 minutes, or until cool enough to move to the refrigerator. Steep the tea for at least several hours or overnight. (I let mine steep for two days before using.)
Strain before using in the soap recipe.
The tea should be very cold for this soap recipe. Never add lye to warm herbal tea or it can overheat and/or overflow.
Now that you’ve made the infused oil and tea, you’re ready to make the soap!
If you’ve never made soap before, read through my Soapmaking 101 article and be sure you fully understand the soapmaking process before proceeding.
You may also find my Natural Soapmaking Ebook Collection helpful. It contains a bundle of ebooks and helpful printables and charts. There’s also an optional course upgrade, if you learn best by video! (Learn More)

Creamy Chickweed Soap (cold process)
All measurements are given in weight. You must use a scale to make soap; do not use measuring cups (or millilitres) for the oils and lye.
Yield: six round soaps (about 2.75 to 3 ounces each)
Ingredients for Soap
- 10.5 oz (298 g) chickweed infused olive oil (75%)
- 2.25 oz (64 g) shea butter (or mango, cocoa, or kokum butter, or tallow or lard) (16%)
- 1.25 oz (35 g) castor oil (9%)
- 1.78 oz (50 g) sodium hydroxide (5% superfat)
- 3.55 oz (101 g) cold chickweed tea (water:lye ratio of 2:1)
- optional: 1/2 teaspoon sodium lactate
- optional: 5 drops rosemary extract (ROE/rosemary oleoresin extract)
- optional: essential oils for scent (see note below)
- mold shown: Crafters Elements Round Soap Mold with 12 Cavities
Directions to Make the Soap
- Put on goggles and gloves.
- Weigh the cold chickweed tea into a stainless steel or heavy duty plastic container.
- Weigh the lye into a small cup.
- Sprinkle the lye into the cold chickweed tea and stir until dissolved. (Don’t breathe in the temporary, but strong fumes.)
- It’s normal for the chickweed tea to turn a bright yellow color when the lye is added.
- Cool the lye solution in a safe spot for 30 – 40 minutes, or until about 100 to 115 degrees F.
- Stir in the sodium lactate if using. (Sodium lactate helps harden soap and makes it easier to unmold.)
- Melt the shea butter (I heat in a small saucepan), then combine with the chickweed infused olive oil and the castor oil.
- Stir the rosemary extract into the oils, if using, to help extend shelf life.
- Pour the cooled lye solution into the warm oils.
- Start by hand stirring the soap.
- Next, use brief short pulses of the immersion blender, interspersed with hand stirring, until soap reaches light trace. (Don’t run the stick blender continuously.)
- If you want to add essential oil, do so at this step and stir until blended.
- The soap batter will look kind of yellow-green at this point, but as the soap sits and cures, the color will lighten into a pale green.
- Pour soap into molds. (I didn’t fill the rounds quite to the top.)
- Let sit for about 15 minutes, then cover lightly with a sheet of wax paper sprayed with baking spray, or a piece of parchment paper. (Not overfilling + waiting + spray/parchment helps keep the soap from sticking to the covering.)
- Uncover after 24 hours.
- Keep the soaps in their mold for 1 to 2 days or until easy to remove. If you used sodium lactate, they should be ready to unmold after the initial 24 hours.
- Cure the soaps on sheets of wax paper in the open air, turning occasionally, for at least 4 to 6 weeks before using.
- It’s important when working with natural green colorants to cure your soap in a dark spot out of direct sunlight or indoor light to help the pretty green color last as long as possible.
Recipe notes:
I like to leave this soap unscented, but if you’d like to add one or more essential oils for scent, visit EO Calc to determine the correct amount.
While you could definitely hot process this soap instead of cold process, it will still need several weeks of cure time. For more on the importance of curing soap, please read this excellent article: “Curing Soap”.
If you run into trouble when making your soap, check out my extensive article, What’s Wrong With My Soap? {troubleshooting cold process soap problems}.
