How to Package Bath Bombs for Gift Giving {+ label tutorial}
Bath bombs are loved by many and a popular gift to give, but figuring out how to package them can be a pain point.
Below, are the methods I use to package both individual bath bombs and bath bomb gift boxes.
I’ve also included a video tutorial on how to create personalized labels for your bath bombs!
Notes before we start:
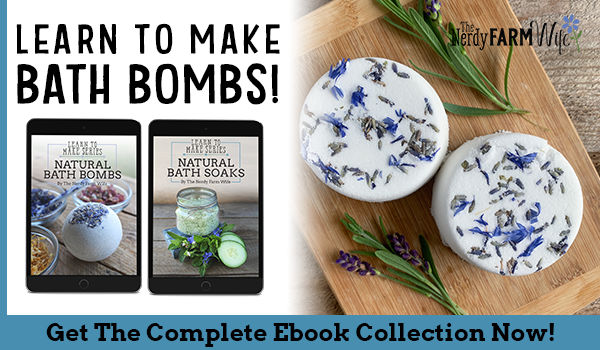
The bath bombs shown are 100% natural and were created using recipes from my Natural Bath Bombs Ebook. (Find out more about that ebook HERE.)
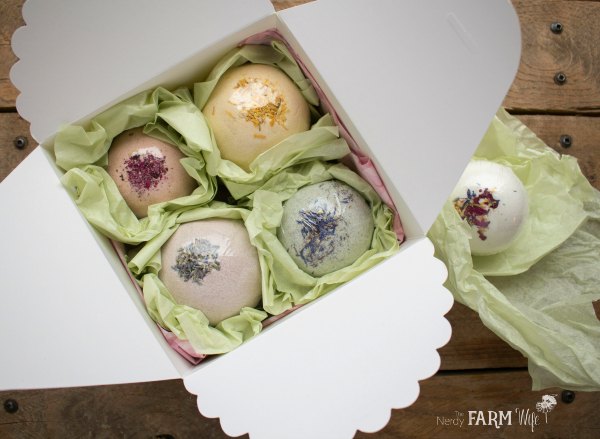
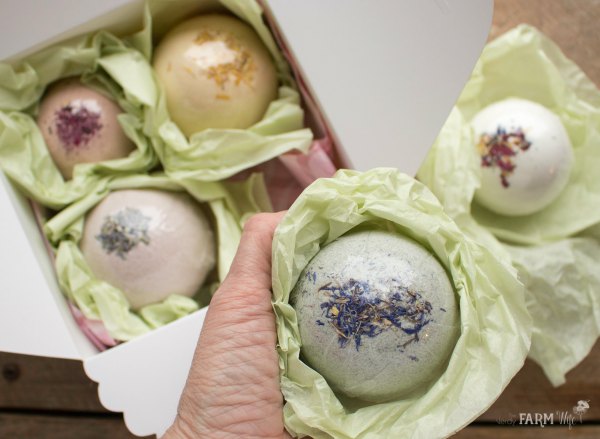
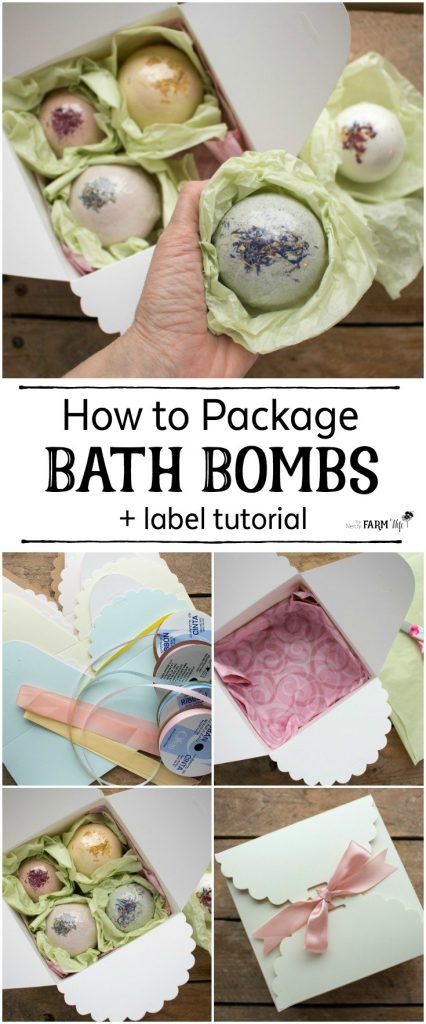
How to Package Bath Bombs in a Gift Box
This is my favorite way to present bath bombs!
I use THESE beautiful Chilly gift boxes available on Amazon. (They have pretty floral prints too.)
They can comfortably hold four medium (around 5 oz) bath bombs, or two large (8 oz) + two medium (5 oz) bath bombs.
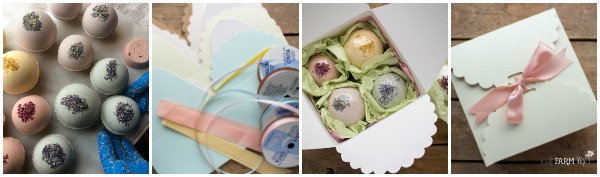
Make your bath bombs, let them dry, and then wrap tightly in plastic wrap.
I follow the directions in THIS YouTube video when I wrap my bath bombs.
Unfold the box, line it with tissue paper, and gently nestle your bath bombs inside, wrapping each one partially in crumpled tissue paper as you go, to act as a cushion.
I like to leave the tops of the bath bombs visible, for a pretty presentation upon opening.
Next, I type up and print off a list of what’s in the box, so the recipient knows all of the ingredients used.
Put the ingredient list in the box, close it up, tie it together with a ribbon and a bow, add a gift tag, and you’re done!

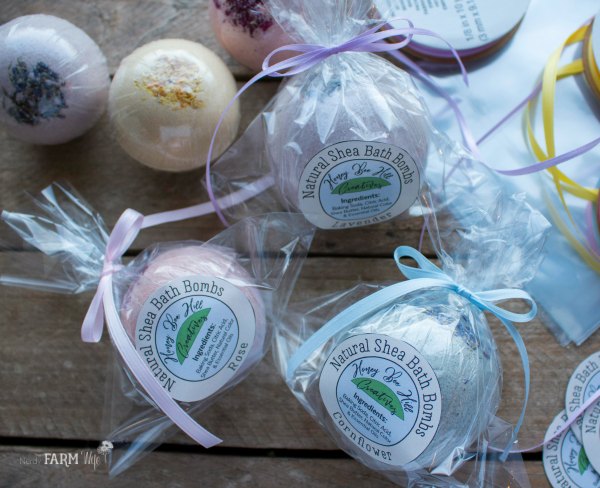
How to Package Bath Bombs Individually
When packaging bath bombs to gift individually, I wrap them in two layers. This keeps moisture out, makes them easier to label, and protects the bath bombs during transit.
(Downside: I realize this is a lot of plastic packaging. I’m still on the hunt for more eco-friendly solutions that work.)
First, is a tight layer of plastic wrap using the directions in THIS YouTube video.
Next, I tuck the wrapped bath bombs in a clear bag with an ingredient label affixed to the side, then tie the bag closed with a ribbon.
The kind of bag I use is actually a shrink wrap bag, but I find shrink wrapped bath bombs can be a bit of a pain to unwrap so I no longer heat them.
How to Create Your Own Bath Bomb Labels {Video Tutorial}
If you’re a past or present student of my Soapmaking Success course, you’re likely familiar with my husband’s soap labeling video tutorials and templates.
For this post, I asked him to put together a video tutorial for making bath bomb labels too and being the agreeable guy he is, he said yes! :)
*Extra important note! This article is focused on bath bombs for gift giving. If you plan to sell bath bombs, I suggest checking out Marie Gale’s blog and book for the most current labeling regulations.
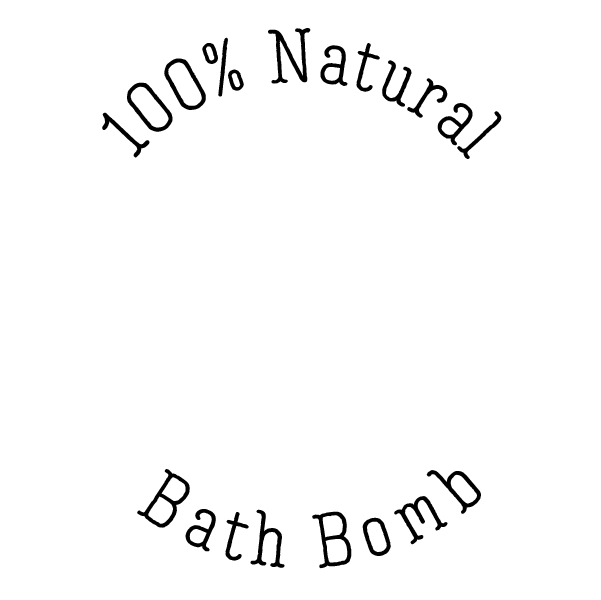
This video details how to design a bath bomb label in the free version of an online photo editing program called Canva, based on four simple circles.
Since Canva doesn’t offer a curved text option, we also have a few ready-made curved text overlays for you. (See below.)
If you’d like different wording, you could use PicMonkey to make custom curved text on your labels, just know that it’s a pay-to-use program.
For images to use on your labels, I recommend checking out Creative Market for inexpensive packs of watercolor graphics. (Look for ones with individual png files.)
Don’t use random images from Google as they usually belong to someone else and you don’t want to infringe on anyone’s copyright.
Click on the small thumbnails below to open full-sized images of the curved text, then right click the larger image and save it to your computer.
Make sure to save it as a png file so it stays transparent. Directions to add it to your label are in the video.
Curved Text Overlay 1
Curved Text Overlay 2

Curved Text Overlay 3

Curved Text Overlay 4

And there you have it! I hope you enjoyed learning a few easy ways to prettily package your handmade bath bombs.


I love this! I will be sure to use this next year for teachers and daycare providers.
Hi Melanie, I’m so happy you liked the post! Bath bombs make great gifts for teachers & caregivers for sure! :)
I have been searching and searching for a box to package my bath bombs. Thank you for sharing the chilly boxes. Will be on my next Amazon order!
Hi Michelle, So glad you found the information helpful! I love those chilly boxes so much – they’re perfect for all kinds of handmade gift sets! :)
Hello!
Thank you for such a thorough tutorial!
Can you please re-link your plastic bags? When I click on the link it takes me to a Jade facial roller.
Thank you!
Hi JoDee, Thanks so much for letting me know! I recently went to buy some myself and noticed they were out of stock, so I appreciate the reminder to fix the link here too!
I bought these instead & they worked great:
https://amzn.to/2yoqN1b
I’ll update the post right now – thanks!
Thanks for all the great recipes and info. I have about 100 bath bombs to make for my daughter’s upcoming bridal shower. I did find that using the extra circle stickers from the invitations will work perfectly for the bottoms of the bath bomb
Hi Vicky, So glad the recipes and information were helpful! That’s a great idea to use the extra circle stickers from the invitations! :)