How to Make Soap on a Rope (Melt & Pour)
Soap on a rope is an easy and fun way to dress up an otherwise plain soap.
It makes a great gift too!
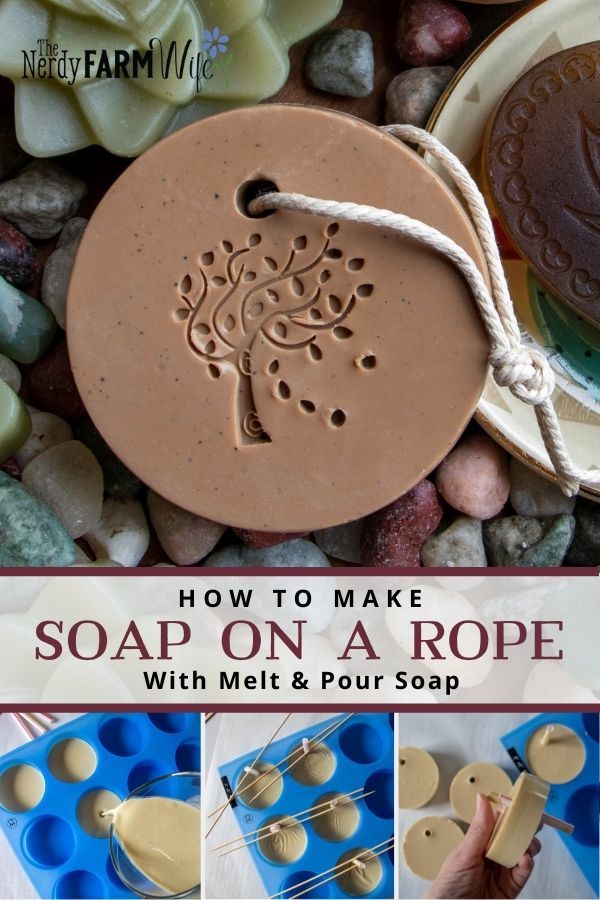
The examples shown in the photos are made using chaparral herb infused soap base, from my Easy Homemade Melt & Pour Soap print book, but you could use this same idea with your favorite colors and scents.
Some links on this site are affiliate links; I only recommend products I personally use and enjoy. As an Amazon Associate, I earn from qualifying purchases.
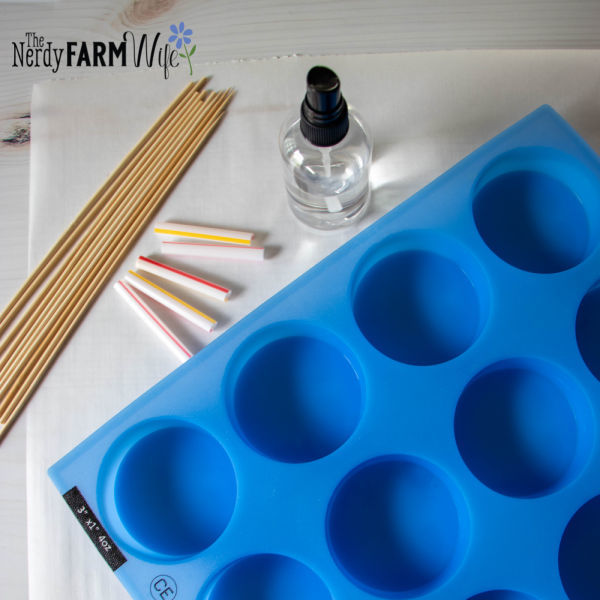
Materials Needed for Five 4-ounce Soaps
- 21 oz (595 g) melt and pour soap base of your choice
- Mold with 4-ounce cavities (I used Crafter’s Elements 12-cavity round mold)
- Rubbing alcohol, for spritzing
- 5 approximately 15″ (38-cm), or longer, pieces of sturdy rope
- 2 drinking straws, cut into thirds
- skewers or chopsticks, to help prop up straw pieces
- soap stamp, optional (I used “Swaying Tree” by Soap Republic)
Step 1
Cut the soap base into roughly 1″ cubes, then melt, using the double boiler method, heating over medium-low heat for 20 to 30 minutes; or the microwave method, heating for 10 to 20 seconds at a time, until melted. Stir in the colorants and essential oils that you wish to use.
Tip to avoid speckling:
For best results when using natural colorants and clays in melt and pour soap base, cool the soap until the temperature is between 125 to 135°F (52 to 57°C), before pouring into molds. This helps minimize speckling from the colorant/clay settling to the bottom of the mold.
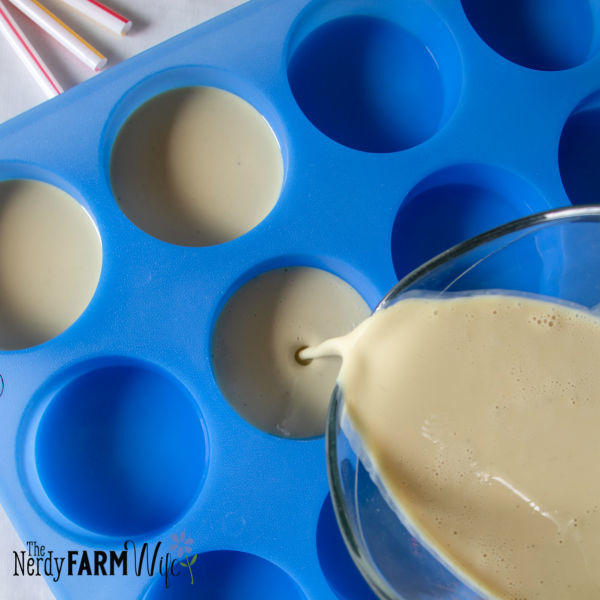
Step 2
Fill five mold cavities about one-third of the way full with the hot soap and spritz with alcohol to remove air bubbles. Cover the rest of the soap in the melting container with a saucer or a piece of plastic wrap to help it stay warm until needed.
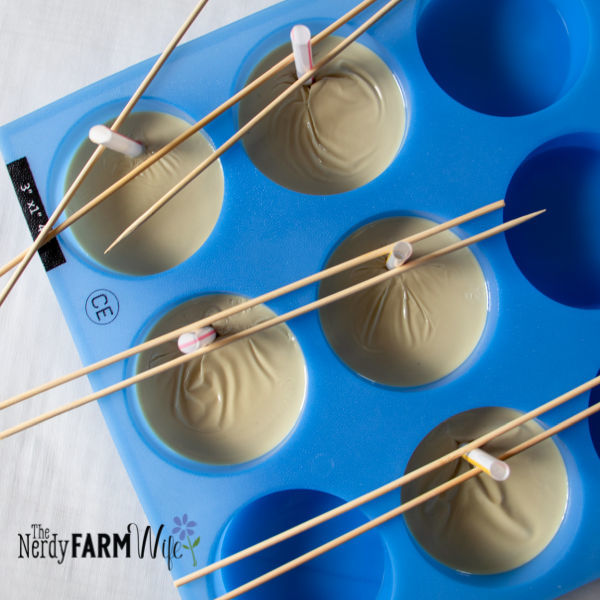
Step 3
Let the soap in the molds sit for a minute or two to start developing a thin skin, then position a small piece of cut drinking straw where you’d like the hole for each soap’s rope to go. Hold each straw piece in place for a few seconds, then prop them up with skewers or chopsticks if any try to fall over. Let this layer sit for about 5 minutes.
A wrinkled surface, as shown in the photo, is normal. Don’t worry, the wrinkles will be covered and smoothed out when the next layer is added.
The same straws can be rinsed out and use over and over again, and the skewers can be reused too; so don’t throw them out when you’re done with them!
Step 4
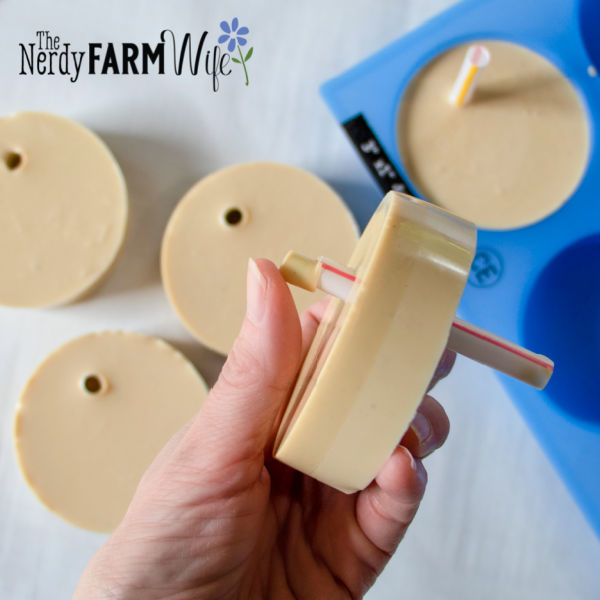
Spritz the soaps in the mold with alcohol and divide the remaining soap batter equally between them. (You can first add more colorant or clay to the second half of the batter, if you’d like a two-toned soap as shown in the photos.)
Spritz the tops again with alcohol. Keep in the mold for several hours, or until cooled and hardened. Remove the soaps from the molds and push each straw piece forward toward the front of the soap. Push it in and out a few times, using your fingers to smooth the edges and create a neat hole for the rope.

Step 5
Thread a piece of rope through the hole and tie in a knot at the top.
While the soap is still fresh, you may wish to use an acrylic stamp to stamp a design on the front of each soap, if you’d like.
Wrap the finished soaps in airtight packaging and store in a cool, dry place, out of direct sunlight.
Tip: What kind of rope should you use for soap on a rope?
You have lots of options! I like to use a length of natural cotton or hemp rope from my local craft store. Look for something that isn’t stretchy, doesn’t fray easily (yarn wouldn’t be a good choice), and is sturdy.
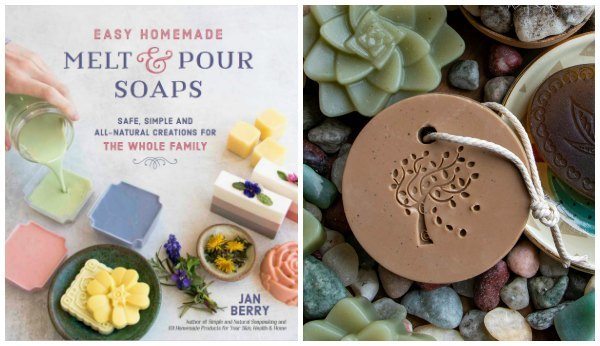
Looking for more creative melt and pour soap ideas? Check out my print book, Easy Homemade Melt & Pour Soaps.
It’s filled with helpful tutorials, natural colorant galleries, essential oil blends, plus 50 recipes with full color photos of each project!

