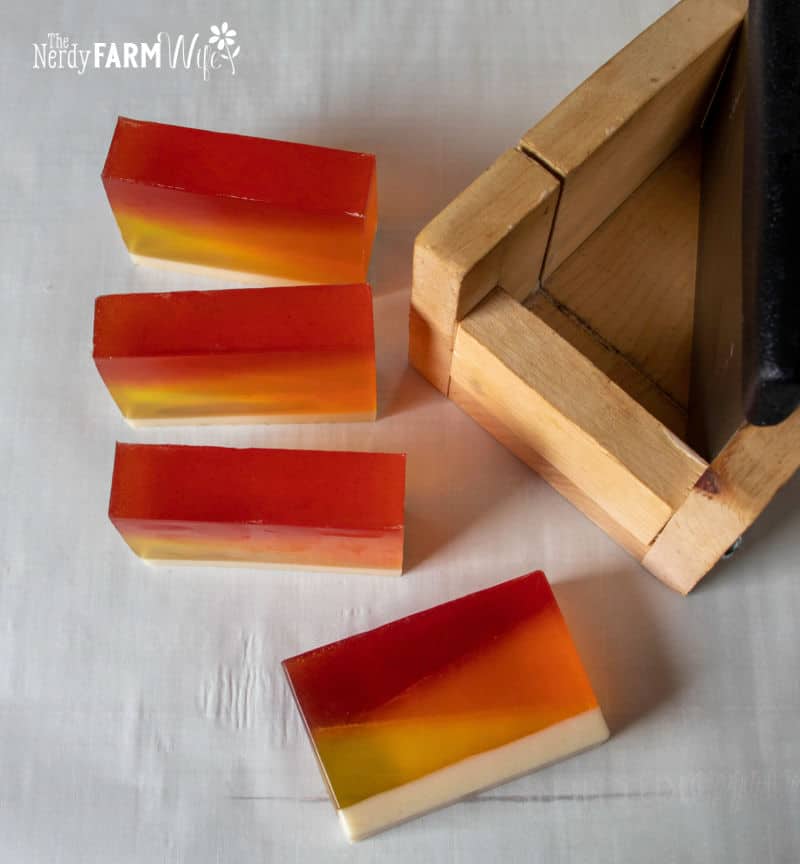
Desert Sunrise Melt & Pour Soap Recipe
Learn how to make this easy diagonal design melt and pour soap recipe using natural colorants and essential oils!

This soap features a bottom layer of oatmeal soap base to mimic the desert sand and three vivid warm natural colorants that remind me of a beautiful sunrise.
The cheerful citrus scent is a combination of orange, lemongrass, and grapefruit essential oils.
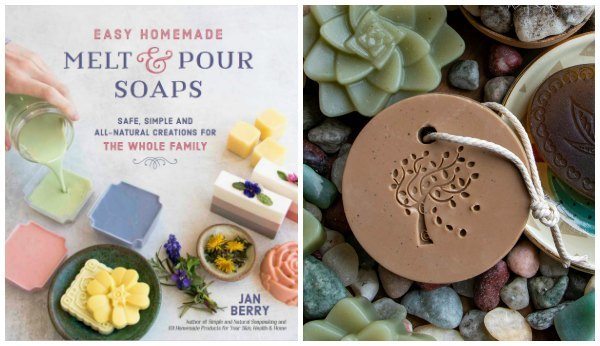
If you enjoy making things with herbs and flowers AND getting creative with melt and pour soap base, I think you’ll really enjoy my Easy Homemade Melt & Pour Soaps print book!
It has 50 recipes and design tutorials featuring all natural colorants, herb/flower infusions, and essential oils. You can find it at places like Amazon, Barnes & Noble, or ask your favorite bookseller or local library about it! :)
You will need:
- 3 oz (85 g) oatmeal soap base, cut into cubes
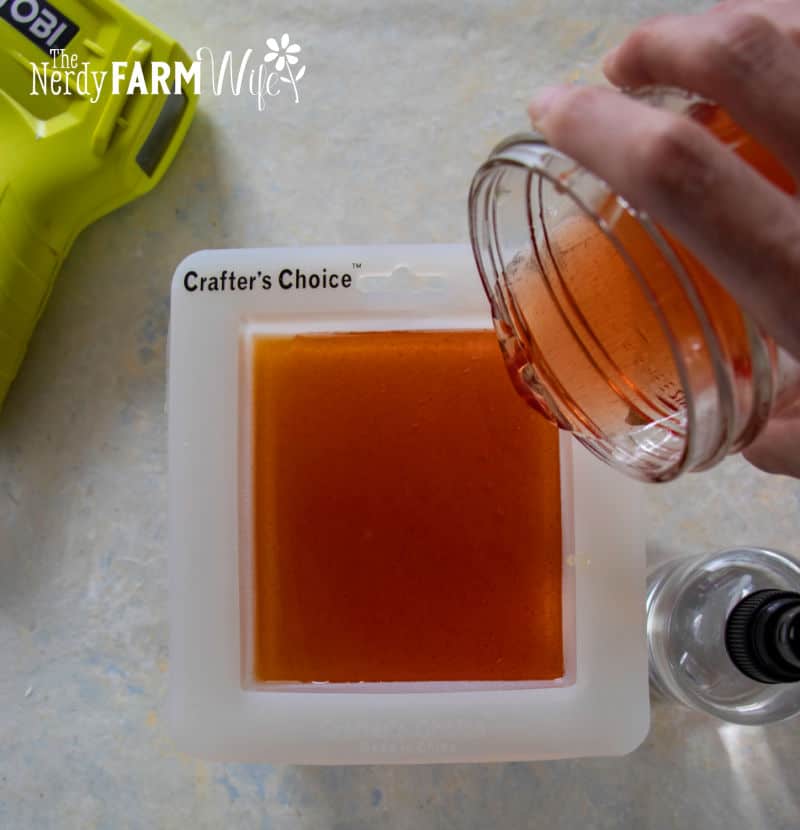
- 4″ silicone load mold (Crafter’s Choice Short Loaf Mold 1504 pictured)
- Rubbing alcohol, for spritzing
- 19 oz (539 g) clear soap base, divided
- 3 g (~3/4 tsp) orange essential oil
- 2 g (~1/2 tsp) lemongrass essential oil
- 1.5 g (~1/4 + 1/8 tsp) grapefruit essential oil
- Tiny pinch of saffron + 1/2 tsp rubbing alcohol (for the yellow layer)
- 1/4 tsp tomato powder + 1 tsp rubbing alcohol (for the orange layer)
- 1/4 tsp madder root powder + 3/4 tsp rubbing alcohol (for the red layer)
YIELD: Four 5.25-ounce bars of soap
Instructions:
In a half-pint (250-ml) sized jar, melt the oatmeal soap base, using the double-boiler method, heating over medium-low heat for 10 to 20 minutes, or the microwave method, heating for 10-15 sections at a time, until it’s melted. Pour it into the mold. Spritz the top with alcohol and let it cool for 15 to 20 minutes.
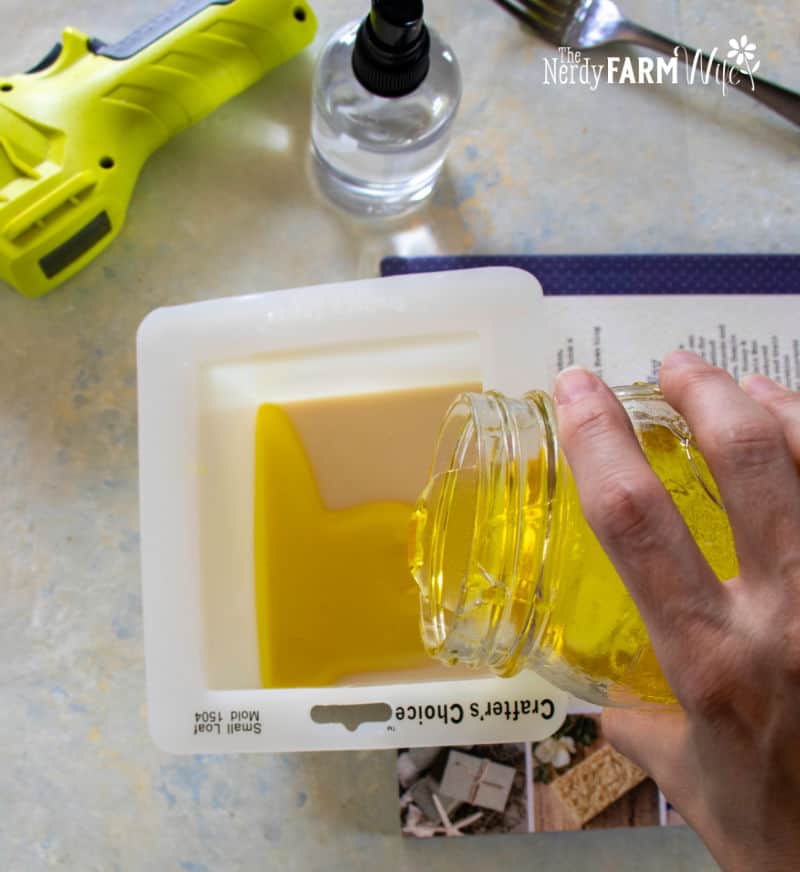
While the oatmeal layer is cooling, melt the clear soap base and stir in the essential oils. Pour 5.5 ounces (156 g) of the hot clear base into a half-pint sized canning jar. Add the diluted saffron/alcohol and mix well.
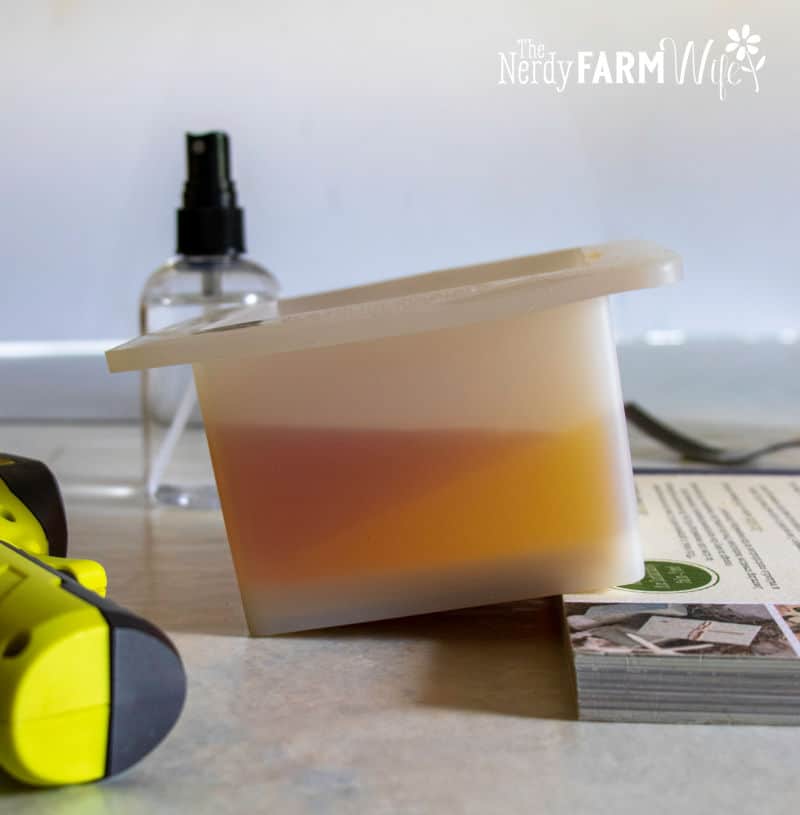
Use a book, dish, or other nearby sturdy object to prop the mold at about a 45-degree angle. When the soap is 130 to 135°F (54 to 57°C), pour the saffron-colored clear soap into the mold to form the first triangle shape. Spritz the top with alcohol to remove air bubbles. Let it cool for 20 to 25 minutes.
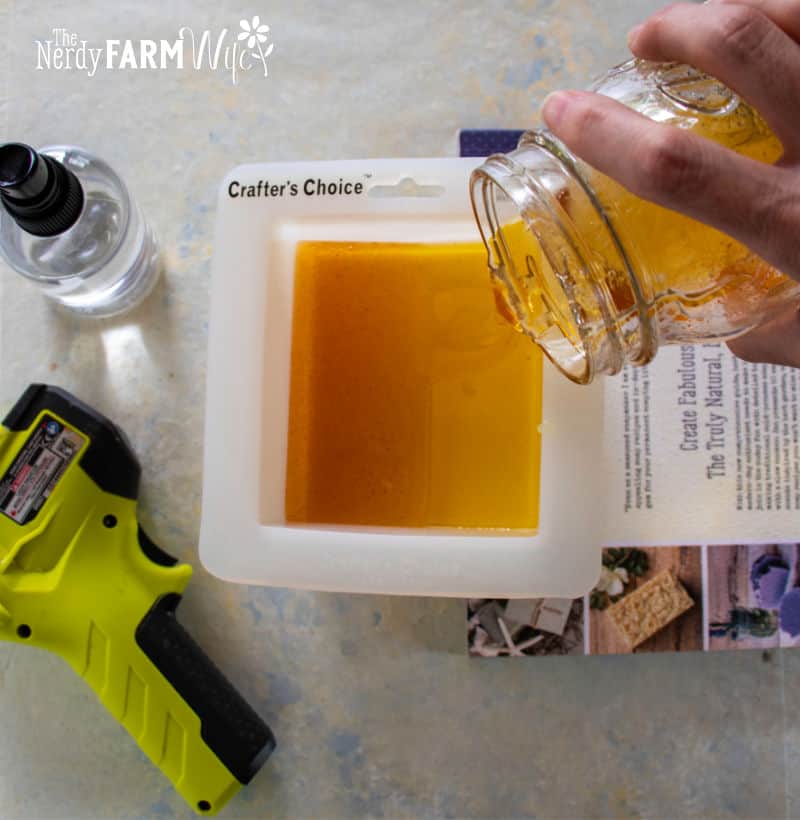
While it’s cooling, reheat the clear soap and pour 5.5 ounces (156 g) into a half-pint sized canning jar. Add the diluted tomato powder and stir well; this will create the orange triangle.
Check to see whether the yellow layer is ready for the next step by lightly tapping the sides of the mold with your finger. If the surface ripples and jiggles easily, it needs a few more minutes to firm up. Once the yellow layer is firm, remove the book or other object from under the mold, then reposition it so the mold is now angled in the opposite direction from before.
Let the orange soap cool to 130 to 135°F (54 to 57°C). Spritz the yellow soap with alcohol, then carefully pour the orange soap into the mold. Spritz with alcohol again. Let the orange layer cool for 20 to 25 minutes. While it’s cooling, reheat the remaining 8 ounces (227 g) of clear soap and stir in the diluted madder root powder, to form the red soap.
Return the mold to a flat position. Spritz the soap in the mold with alcohol. When the red soap is 130 to 135°F (54 to 57°C), pour it into the mold to form the final top layer. Spritz the top with alcohol.
Keep the soap in the mold for 8 hours, or until it’s completely cooled and hardened. Unmold and cut soap into bars. When cutting the soap, turn the loaf on its side first, to reduce the chance of the layers separating. Wrap each bar tightly and store them in a cool dark spot, out of direct sunlight.

