How to Grow Tomatoes from Seed
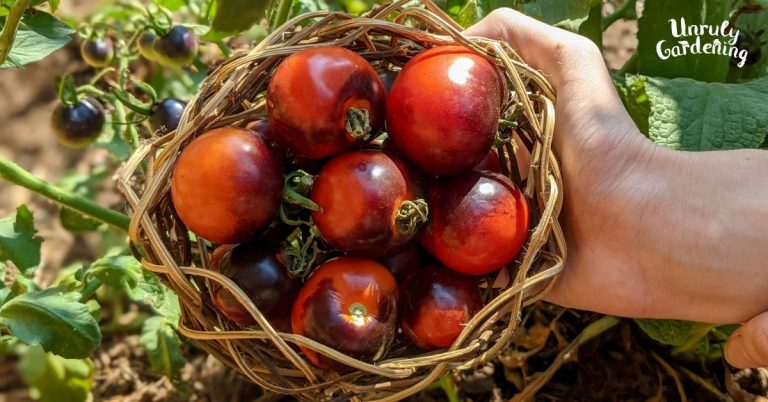
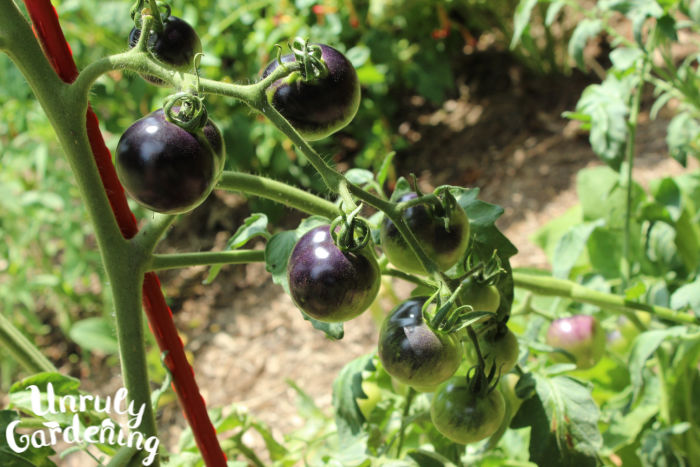
Cherry, beefsteak, dwarf, determinate, indeterminate, red, yellow, purple or blue, all tomatoes are started the same way from seed – and here’s a guide on how to do it!
Deciding When to Plant
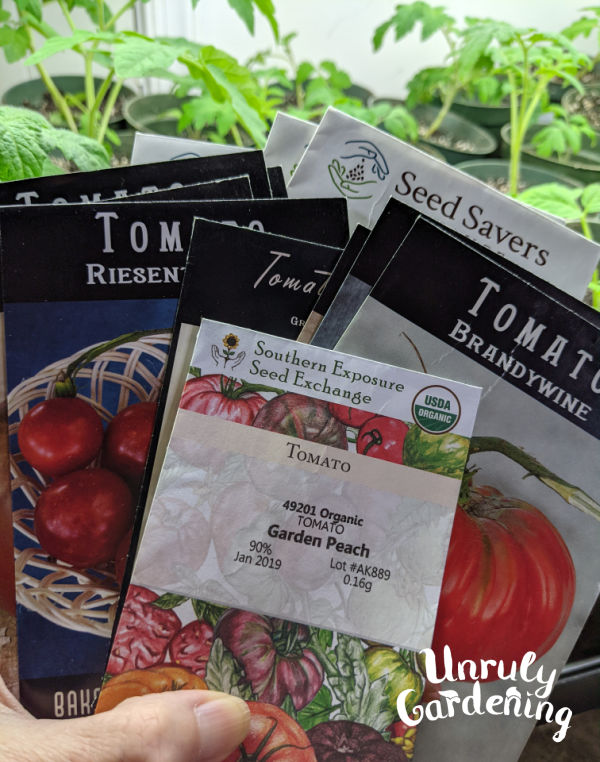
The first step you’ll need to take is to decide when you’re going to start your plants.
The general advice is to plant your tomato seeds 6-8 weeks before your estimated final frost date. For our area in zone 7, that means February 18 to March 4.
Tomatoes that are being grown indoors as potted plants can be started at any time.
What happens if you start tomato seeds too early?
We often start tomato plants towards the end of January, going a few weeks earlier than recommended dates, BUT be aware if you do this, you’ll need to pot the plants up several times, to increasingly larger containers, until they can be planted into the garden. Doing this will result in large plants, the size you see when you go shopping for mature plants at your local nursery in spring.
This is great if you have lots of room, lots of larger pots to up-plant into, and grow lights to keep the plants healthy, and/or plan to use Wall O Waters to jump start your garden season before last frost. (Wall O Waters are old school season extenders that lets you plant tomatoes in the garden 4 weeks before last frost – we inherited a few from a grandparent years ago.)
If you don’t have lots of space and grow lights, or don’t have any Wall O Waters handy, then it’s best to stick with the 6 to 8 weeks window. Planting too early could result in stretched-out gangly plants, stuck in too-small pots.
Planting
Start by filling a clean container such as a nursery tray or pot, or even something like a clean yogurt container with a hole punched in it for drainage – with your potting medium of choice, or filling a tray with soil blocks, if you like to use them instead.
Once the container is filled, wet it thoroughly with warm or luke-warm water. You don’t want a swamp! You just want all the soil to be evenly damp.
Sow the seeds in this wet soil 1/8th of an inch deep- you can just place the seeds on the surface of the soil and lightly sprinkle the covering layer on top with new soil, or you can poke holes in the damp soil, drop the seed in, and gently cover with the existing soil.
Either way, use your fingers to gently tamp the soil down. Cover container with a greenhouse lid or plastic wrap lightly laid over the top, and place somewhere warm and sunny, keeping evenly moist all the while until germination, which should take about 5-14 days, but could be even sooner. Check daily for signs of those little green sprouts!
If your tomatoes aren’t sprouting, you may not have them warm enough, or you might have bad seeds. Try a heat mat to bump up the warmth, or put them on top of your refrigerator (where it’s a little warmer) for a few days, and if that doesn’t work, consider purchasing new seeds to try.
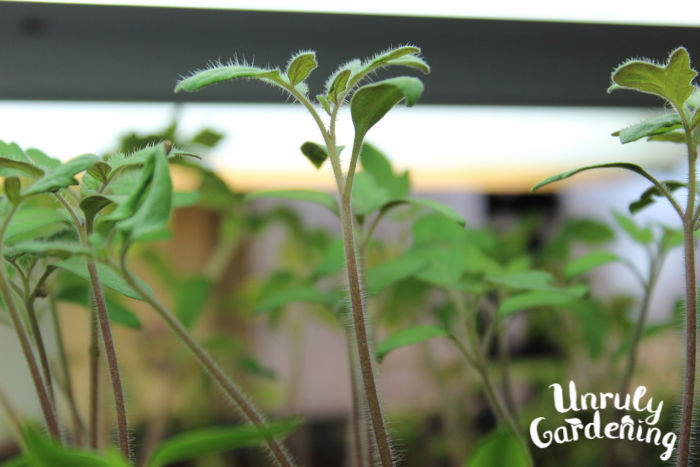
Tending Sprouts
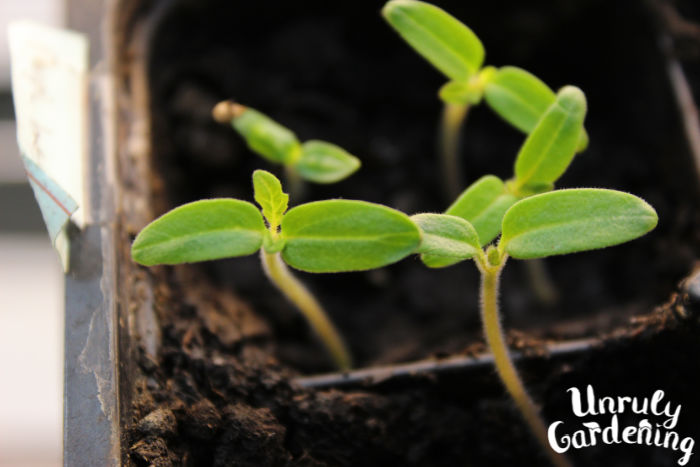
The fragile sprouts, once they’ve pushed their way out of the soil, mostly just need to be allowed to grow for a while- after most of the seeds have sprouted, remove the greenhouse top, and just check them every so often. Make sure to water them when the soil begins to dry out, and to adjust lighting as needed to avoid stretching and leaning.
Wait for them to get two true leaves on each plant- not the first, slender leaves that aren’t tomato-shaped that come up when the seeds first sprout, but the two that follow, that actually have the shape of a tomato leaf. Once you see that, it’s time to transplant!
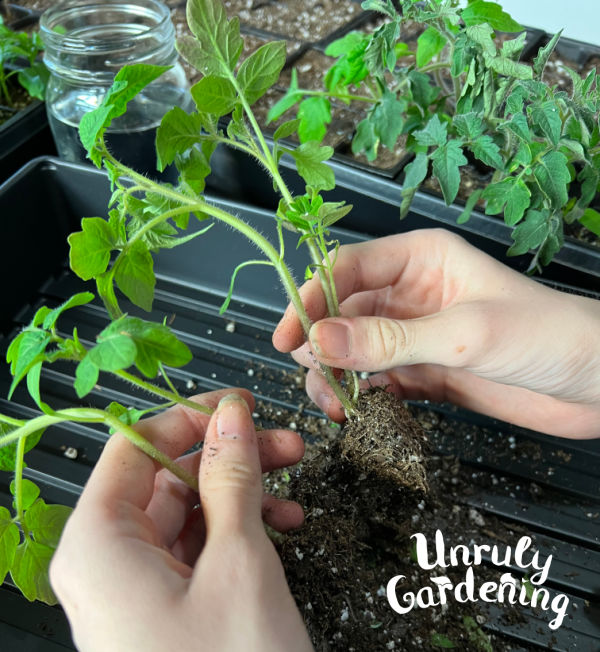
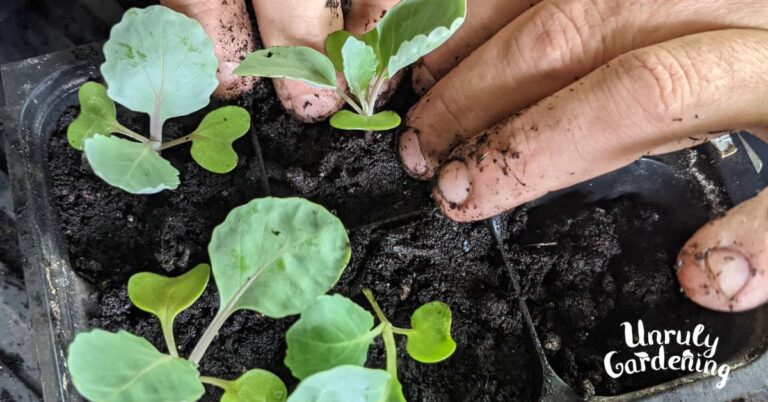
Transplanting
Gently divide the baby tomatoes from each other, and plant each in their own, larger container. Bury the stem partially when you plant them- more roots will come out from the buried stem, giving it an even stronger root system.
Water well, and give the tomatoes a day to recover- it’s recommended that you give them this time with the grow lights turned off, if you have them.
They will wilt, and look very dramatic and sad and sulky. It’ll be okay! Transplanting is traumatic for little baby tomatoes, but they’ll be stronger in the end for it!
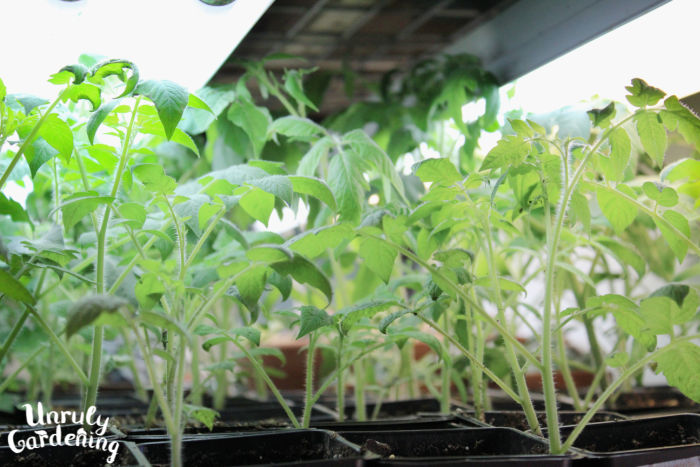
After they have a day to recuperate, turn the lights back on. Continue watering them regularly when their soil goes dry, keep them warm and under bright lights, and watch them go!
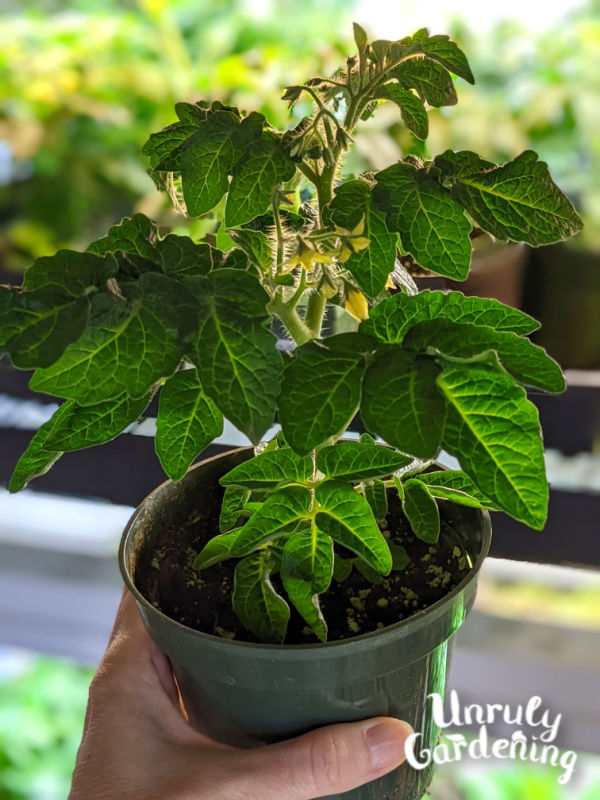
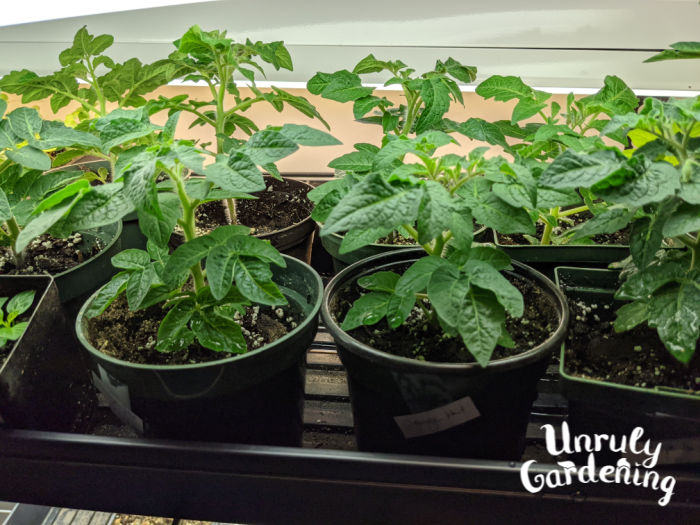
As your tomatoes grow, you should transplant them once or twice more, burying their stem deeper in the soil each time- this gives you beautiful, strong tomato plants with a well-developed root system. Make sure they don’t get root-bound, though- if your container becomes nothing more than a solid mass of roots, you’ve left them in their pot too long!
Keep your tomato plants under grow lights or in the brightest window in your house all the while. If using grow lights, keep the lights close to the leaves of the plants, without actually touching the leaves, adjusting the height as you go. This will keep the plants compact, which is good! We like compact. Compact means less likely to snap!
Care for Final Transplant into the Garden
Continue to keep the plant under light, with regular watering and checking every so often for signs of nutrient deficiencies and pests, until the outdoor weather begins to warm. Once there is absolutely no longer any risk whatsoever of frost happening, it is time to plant your tomatoes outside.
Hardening Off Plants
But first, you need to harden then off! This is done by placing the seedlings outside in a protected area every day, starting by placing them in a place that starts out shaded but gets some indirect light, gradually exposing them to direct sun, and bringing them back in at night. This goes on for a week or two, acclimating the plants to life outdoors.
Once adjusted to life in the outdoor world, finally, you can start to plant! Ideally, plant on a cloudy day. Choose a location that gets full sun, or 8+ hours of direct sunlight a day.
Time to Plant!
Dig a large hole, and put a generous scoop of compost in it. In this hole, add any other granulated amendments and fertilizers you may want to add, depending on your soil and growing conditions. (We like a pinch of Epsom salt and crushed eggshells, for added magnesium and calcium.)
Mix together with a small shovel and, wearing garden gloves, use your hands to move the compost around until you can tuck your tomato plant in the hole.
Snap off all of the leaves but the top few pairs, and bury all of that stem! You may even need to lay your tomato sideways to get the stem covered up nicely. Scoop the original soil that came from the hole back on top to even it out, tamp firmly, and give the soil a good soaking!
Finish it off by placing any stakes or cages you want to use to contain the tomatoes, and leave them be to get over the transplant shock. Eventually they’ll perk back up and start growing again! It may help to water the plants thoroughly with diluted fish emulsion to give them a boost.
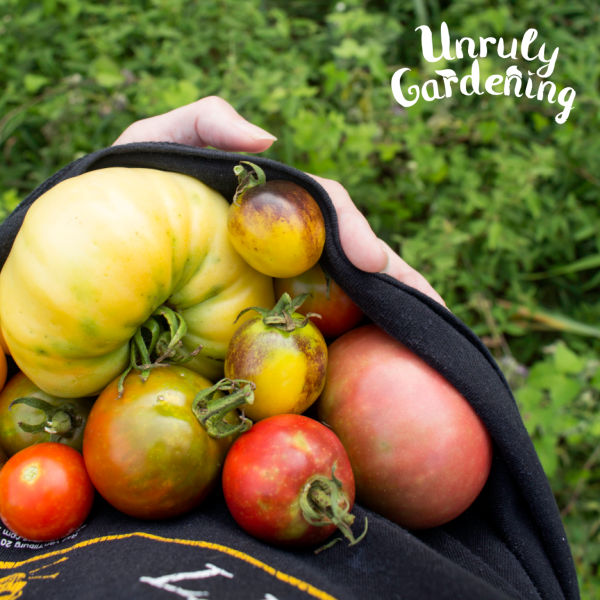
Tend them well and in the future, your plants will bear lots of delicious tomatoes to enjoy!